
Your Hartland Institute Address book is using a database stored on the main server and uses a service called "LDAP" (pronounced: ell-dap). By completing the steps below, you will correctly apply the settings to use the campus wide address system so that you can type in the first few letters of someone’s name and it will automatically fill in the rest of the email address for you.
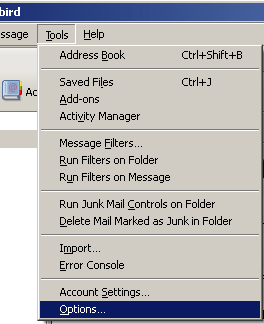
- Inside Mozilla Thunderbird, click on "Tools" (in the menu bar), then click on "Options"
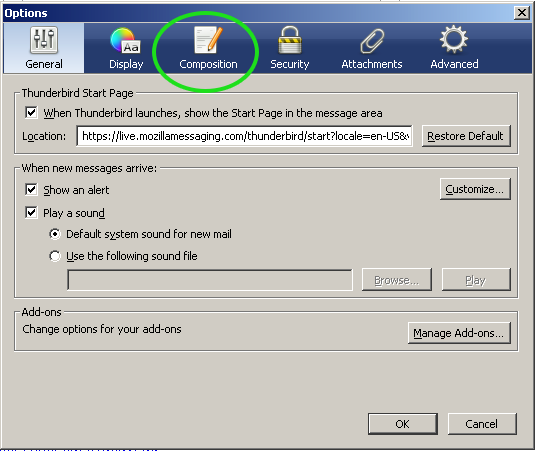
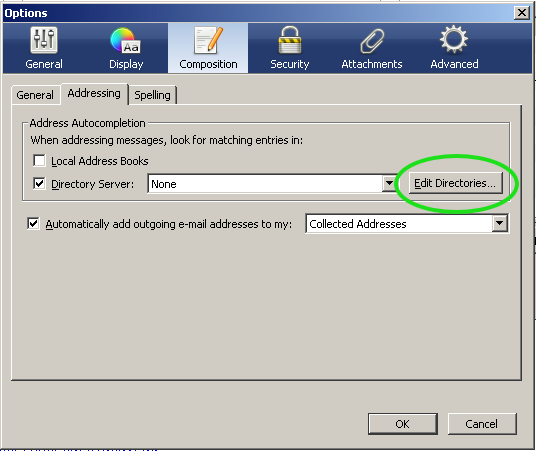
- Once the box pops up for the preferences, you need to click on the "Composition" button at the top of the box/window.
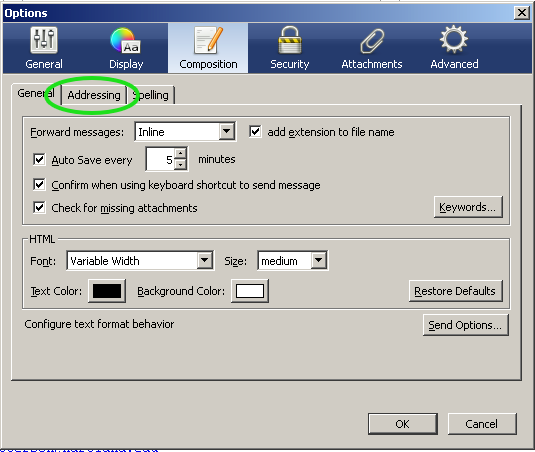
- Once in the "Composition" Area, you need to select the "Addressing" tab as shown below.
- Once in the "Addressing" tab, you will need to click in the box labeled "Directory Server".
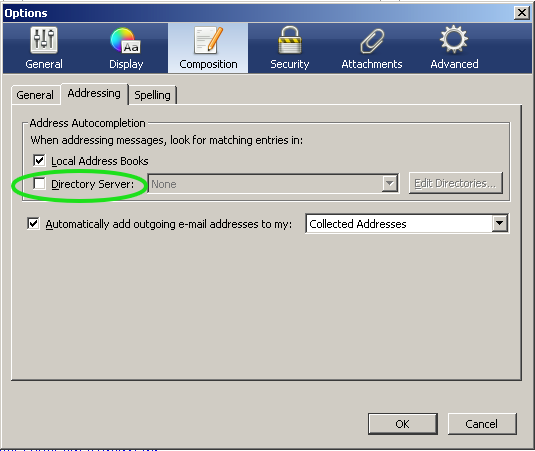
- Once you have the "Directory Server" selected, the rest of the information becomes active. You will need to click on the button at the end of that line that says: "Edit Directories".
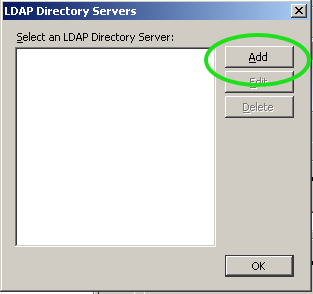
- The next box/window that comes up will have a label at the top that says "Select an LDAP Directory Server". As you can see, there are no LDAP servers currently installed. You will need to install one. To start this process, click on the "Add" button on the right hand side of the box/window.
The next box/window that comes up will look like this…
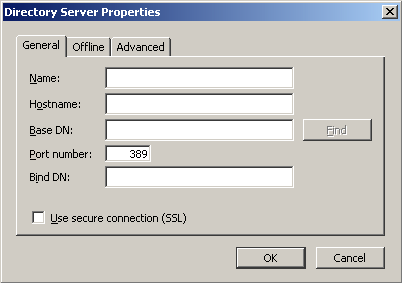
- In this window you will need to enter in a few items in the text boxes as shown below. The information that you need to enter is as follows:
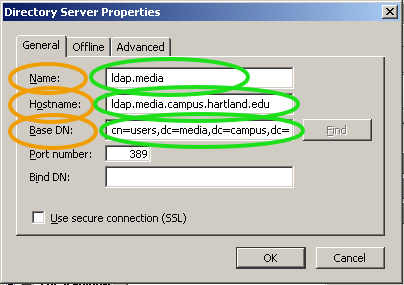
- NAME: ldap.media
- HOSTNAME: ldap.media.campus.hartland.edu
- BASE DN: cn=users,dc=media,dc=campus,dc=hartland,dc=edu
- Once you have the information put into the text boxes, click on the "OK" button to continue.
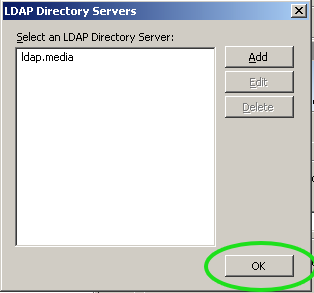
- Once you click “OK” that box/window will disappear and you will be back to the box/window that says "Select an LDAP Directory Server". As you can see, the LDAP server you just installed is now listed. Now all you need to do is click on the "OK" button at the bottom of the box/window.
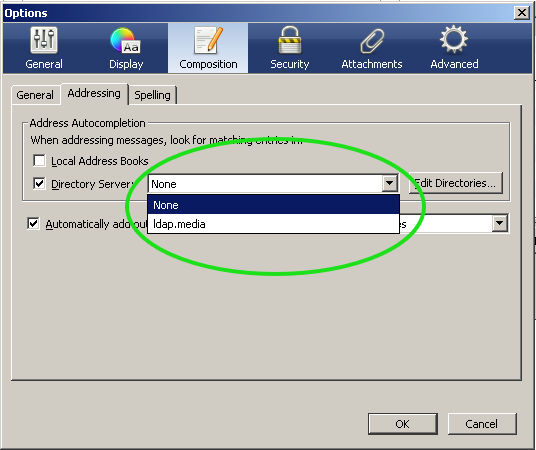
Now you will be back at the box/window that has the check box for “Directory Server”. Click on the drop down box that currently says “NONE” and select the option for “ldap.media”.
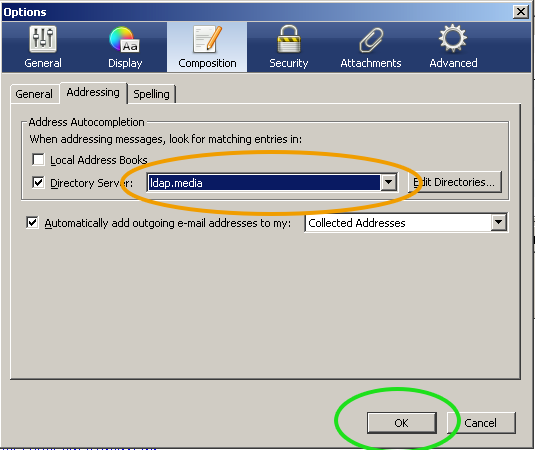
- Once the “ldap.media” server is selected, all you need to do now is click on the “OK” button at the bottom of the box/window.
Now when you run Mozilla Thunderbird email client, and start to type someone’s name into the “TO” box you will get the addresses of the on-campus email addresses already filled out for you. ENJOY!