
- Once you have Mozilla Thunderbird installed on your desktop, the first time you run the application, you will get a screen that looks like the this. Please make sure that you are NOT connected to the "NetAccess" Client. You need to be OFFLINE for this to work correctly.
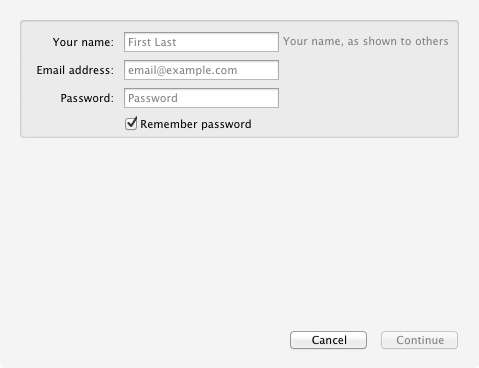
- You need to fill out ALL of the information on this screen, which is required.
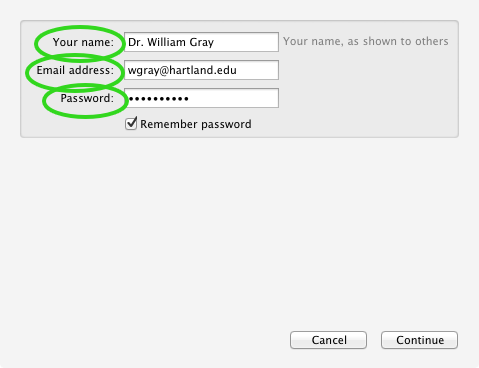
- Please enter your Full Name as you would like it to appear when someone receives an email from you.
- Please enter your complete EMAIL address. This will be something like the following picture.
- Please enter you "NetAccess" password.
- Now click on the "Continue" button.
- You will now see a change in the screen with the system trying to check on the email server status. Do not worry about being online, as you need to not be online for the following steps to work correctly.

- Please click on the "Manual config" button to continue setting up your Thunderbird Email Client.
The next screen that you will see will have the information that you put in the fields in the last box, but you will have several more boxes that need to have VERY specific information put in them to configure the mail box settings properly.
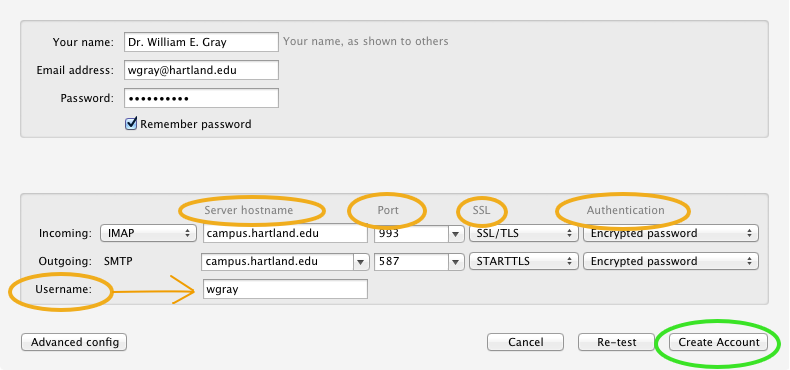
Here is a list of the of the fields that need information put in them or selected and the information that needs to be put in the specific fields.
- FOR INCOMING SETTINGS:
- Server hostname: campus.hartland.edu
- Port: Please click on the drop down list and select "993"
- SSL: Please click on the drop down list and select "SSL/TLS"
- Authentication: Please click on the drop down list and select "Encrypted Password"
- FOR OUTGOING SETTINGS:
- Server hostname: campus.hartland.edu
- Port: Please click on the drop down list and select "587"
- SSL: Please click on the drop down list and select "STARTTLS"
- Authentication: Please click on the drop down list and select "Encrypted Password"
- USERNAME:
- Enter in your full Username – Such as if your name is Margie Jones, you would enter in "margiejones"
- Once you have all the information above entered correctly, Please click on "Create Account".
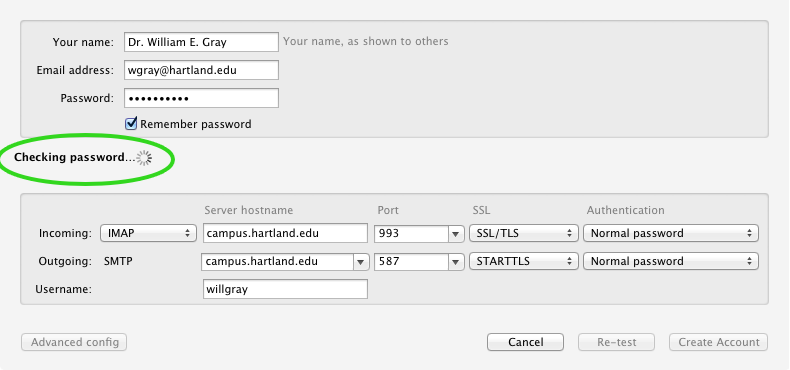
You will then see a change in the screen where the system will try to check the password against Information Systems registered password that is on file. IF the password that you entered is the same as the password that is on file, the following screen will disappear.
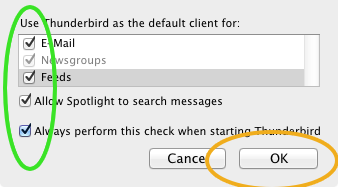
The next box that will pop up is a box that requests for you to select the “Default” for your computer.
- Please check all of the boxes and click on the "OK" button.
You are now set up and ready to go with your email account